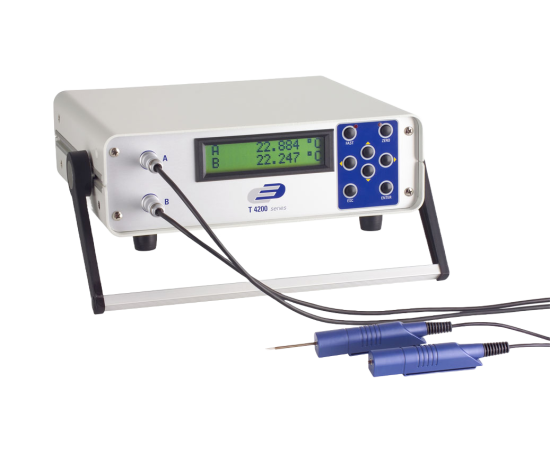
The ATP 4200 is designed for precise temperature measurements as demanded in laboratory use and quality assurance (ISO 9000, etc.). The conversion of the resistance measuring value into a temperature measuring value is practised by use of calibration tables in the measuring device depending on the different probe specifications. It is not necessary that the user enters the calibration data after each exchange of the probe using the keyboard built-in the measuring device. As the calibration data of several probes can be stored in the measuring device, in a lot of cases it will be sufficient to relate the corresponding calibration data to that channel to which a new probe had been connected. If the calibration data of a newly connected prove are not yet stored in the measuring device, the user can draw up the calibration data easily on a PC by use of a software included in the scope of supply. The complete drawing up and maintenance of the calibration tables is done on the PC. If required new calibration data can be loaded from the PC into ATP 4200 by use of this PC-software.
